

データベースの肥大化なしに、エンタープライズローカライゼーションを統合します。
従来のWordPress翻訳プラグインは、データベース内のすべての投稿とページを複製することで、サイトを遅くさせることがよくあります。MultiLipiは異なるアプローチを採用しています。当社の専用WordPressプラグインは、軽量な API コネクタ、サイトを当社の 機能テストこれにより、サイトは高速に保たれ、120以上の言語でSEOに最適化されたコンテンツを提供できます。
このガイドでは、公式の MultiLipi Translate プラグイン。
1. デプロイメントの前提条件
インストールを開始する前に、以下を確認してください:
管理者アクセス
プラグインのインストールと有効化の権限(管理者ロール)が必要です。
MultiLipi APIキー
ダッシュボードの以下の箇所にあります 設定 > 一般.
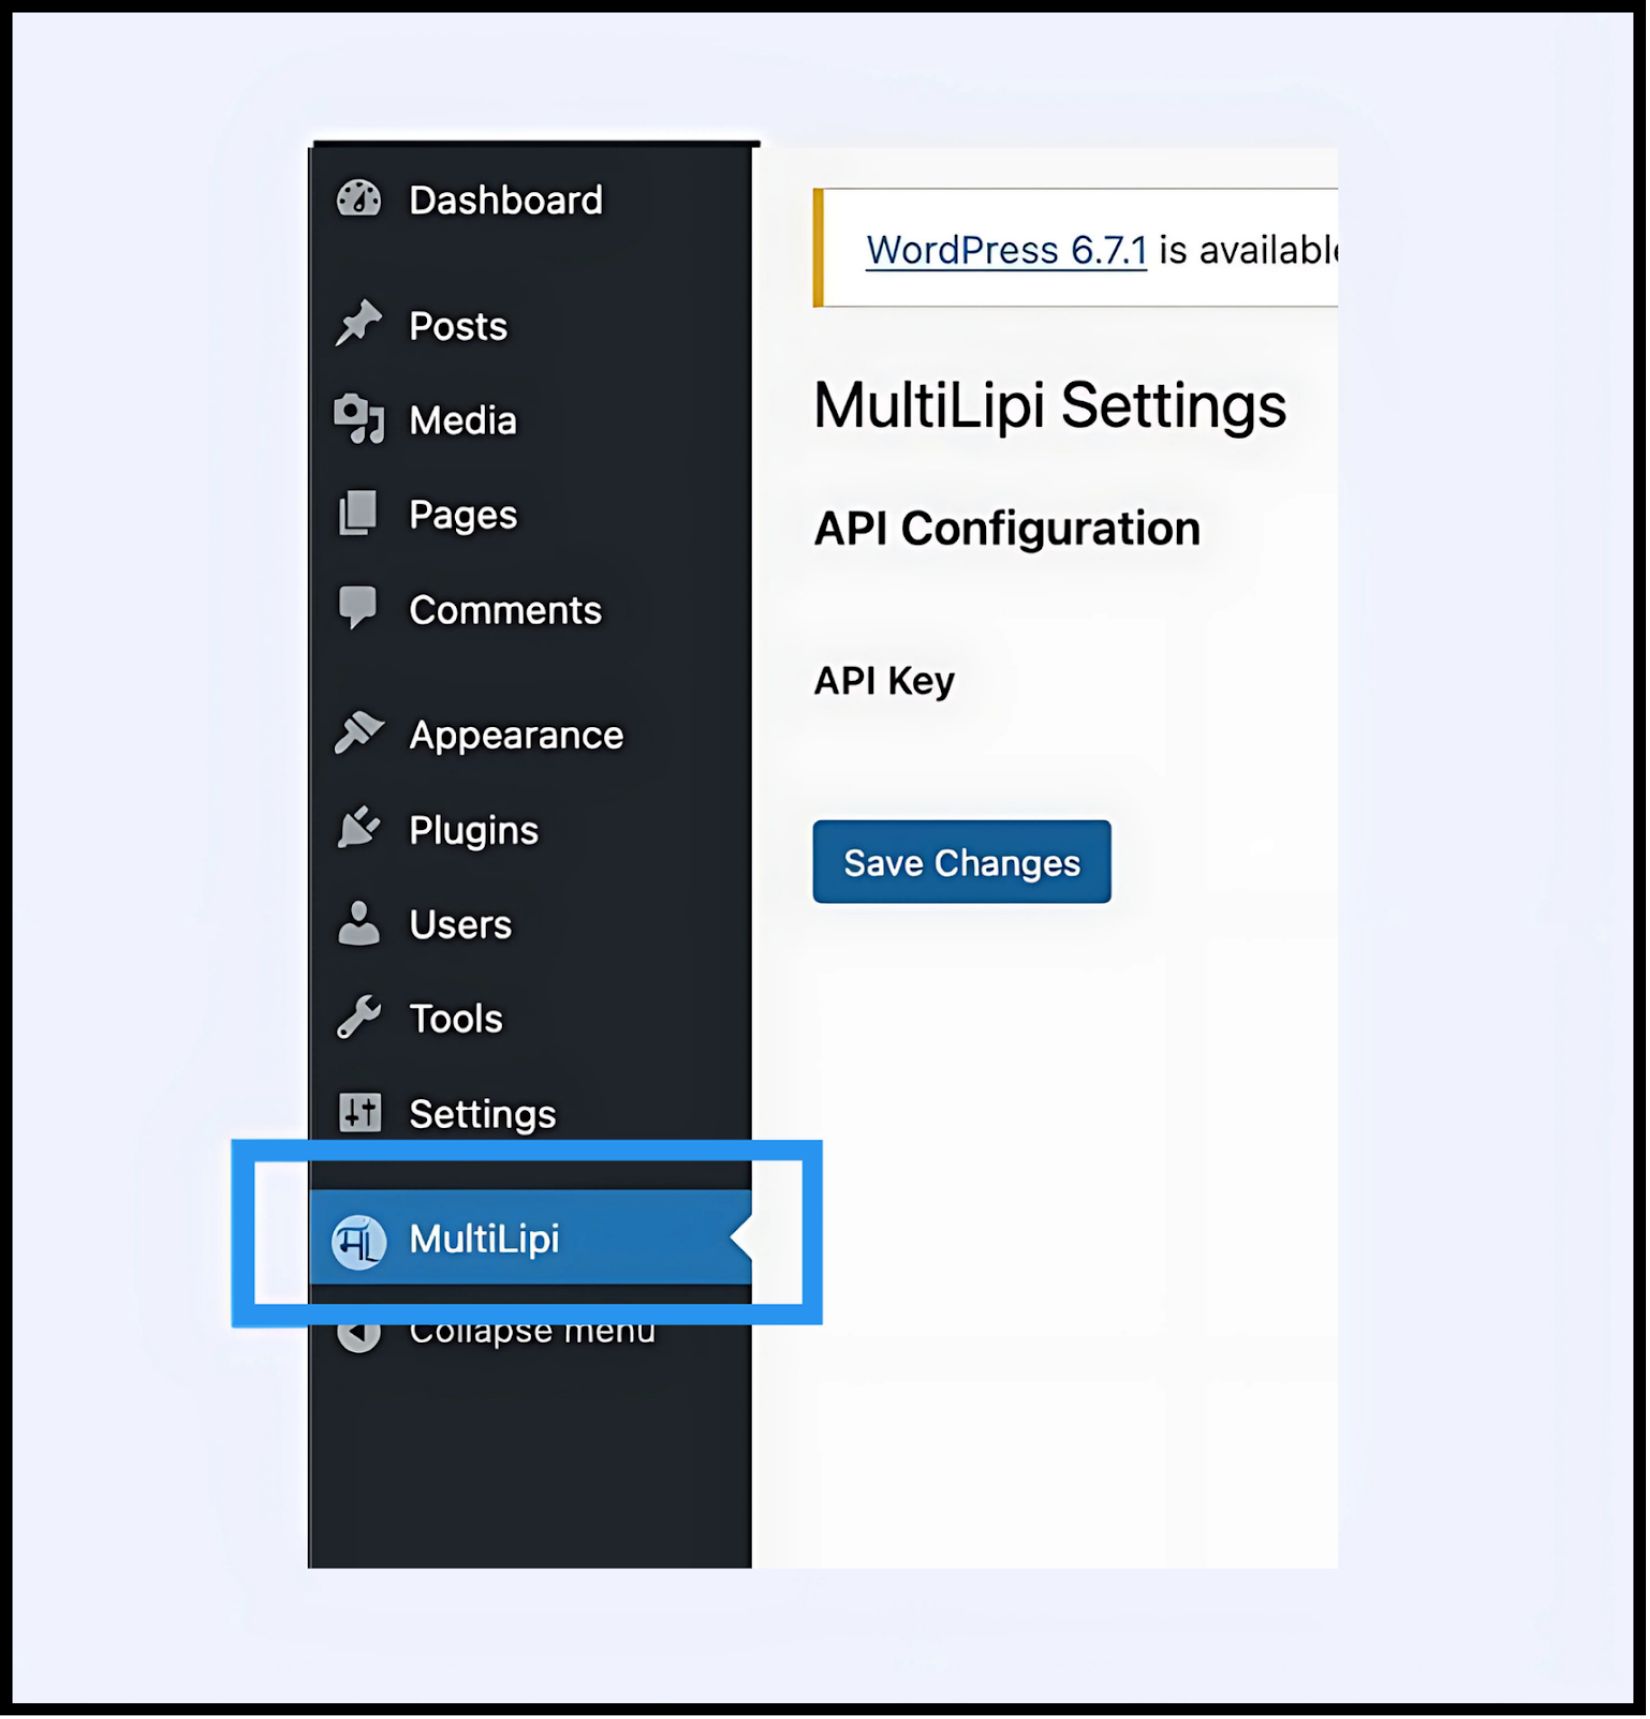
2. ステップ1:コネクタモジュールのインストール
プラグインは、セキュリティとアップデートの容易さのため、公式WordPressリポジトリでホストされています。
- 1
にログインする WordPress Admin Dashboard.
- 2
に移動 プラグイン > 新規追加 左側のサイドバーに表示されます。
- 3
検索: 設定 > MultiLipi
- 4
インストール: クリック 今すぐインストール 公式MultiLipiプラグインで。
- 5
有効化: クリック 有効化 モジュールを初期化します。
システムアクション
という名前の新しいメニュー項目が MultiLipi に表示されます 設定 タブ。
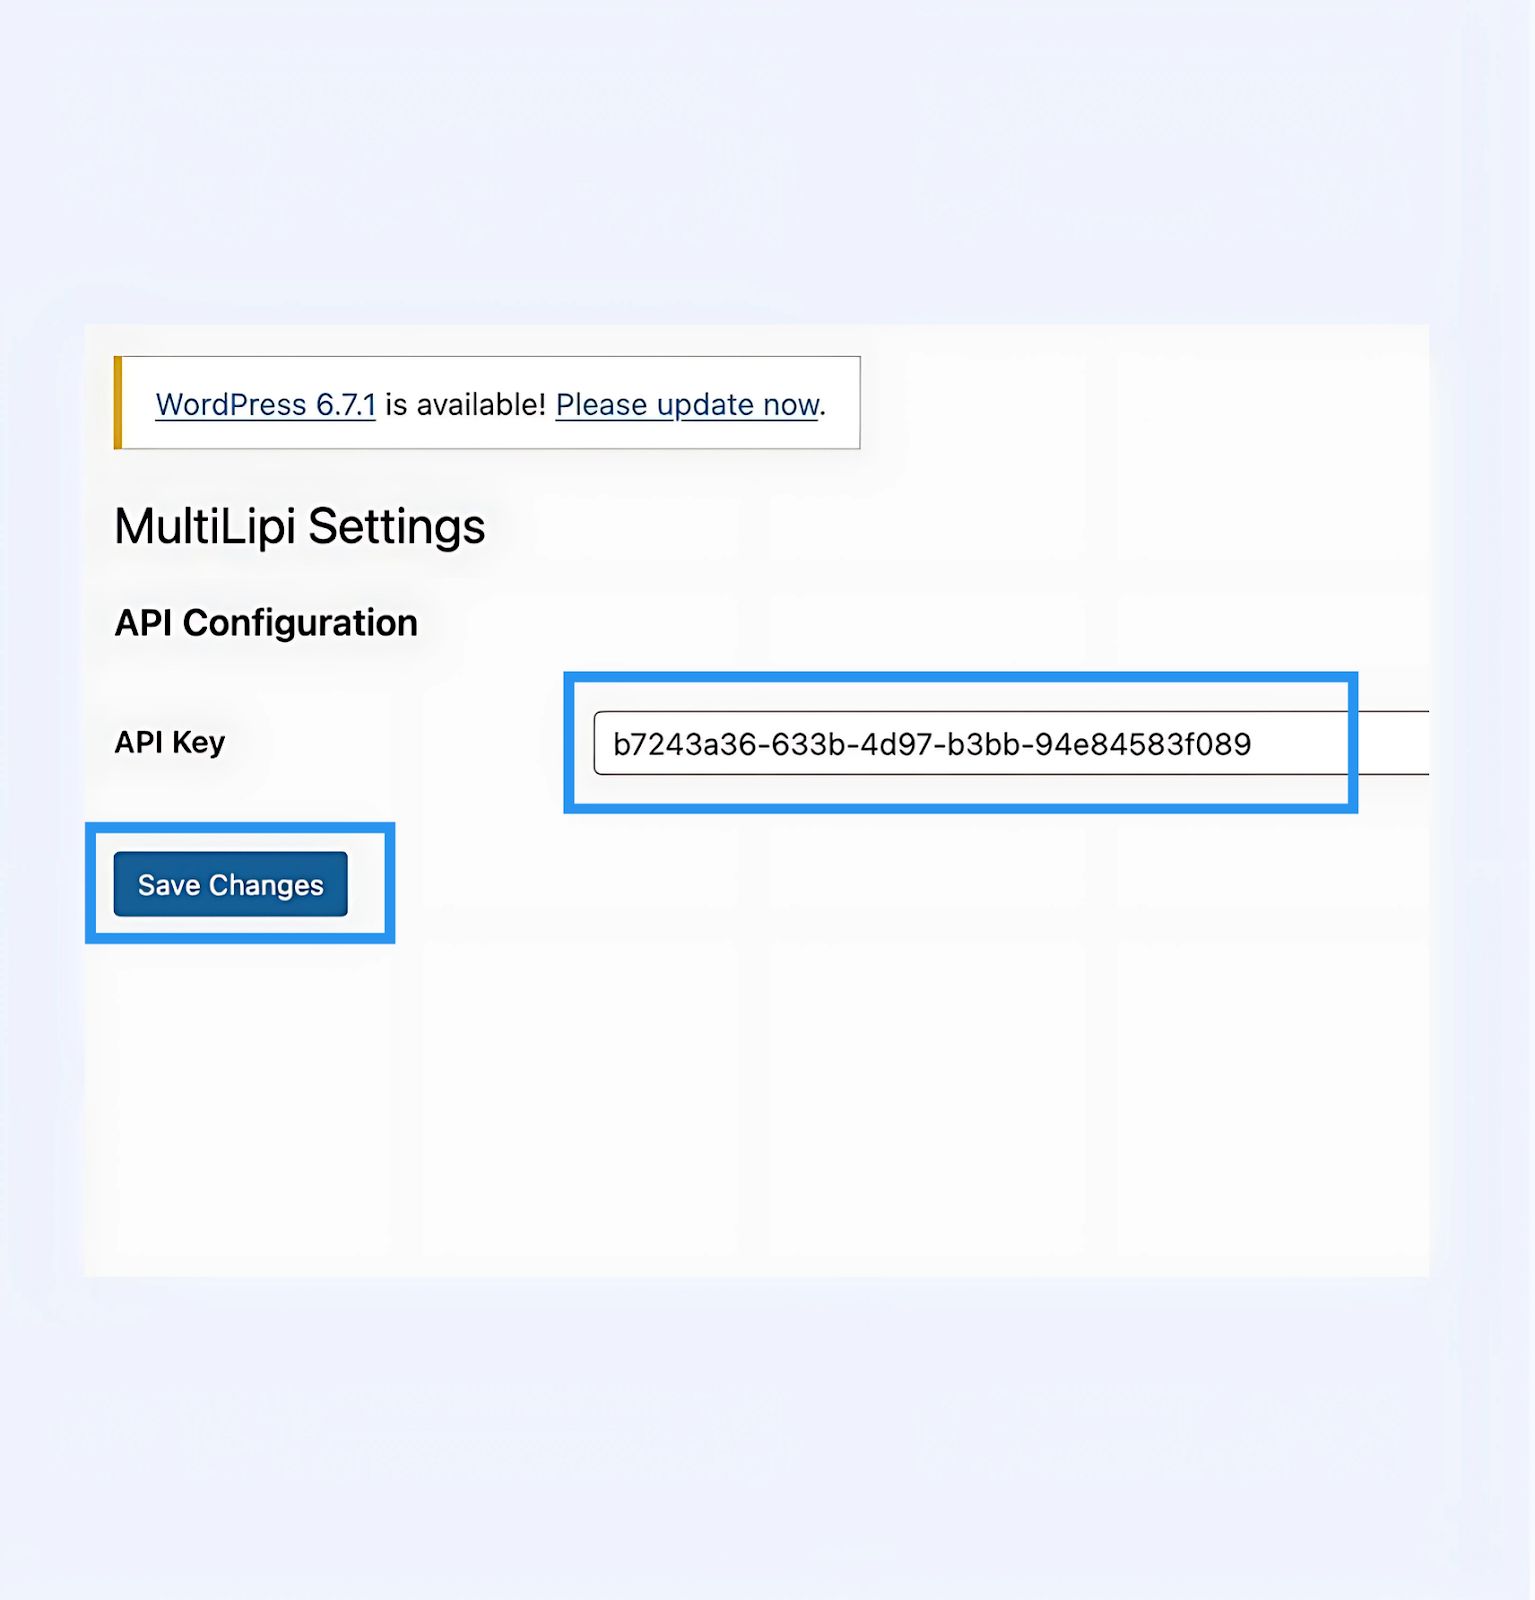
3. ステップ 2: API ハンドシェイクの確立
プラグインを認証して、サイトを MultiLipi プロジェクトに接続する必要があります。
- 1
に移動 リロード.
- 2
API 設定: 検索バーに「MultiLipi Translate」と入力します。 APIキー フィールド。
- 3
認証: 一意のプロジェクトAPIキー(MultiLipiダッシュボードからコピーしたもの)を貼り付けます。
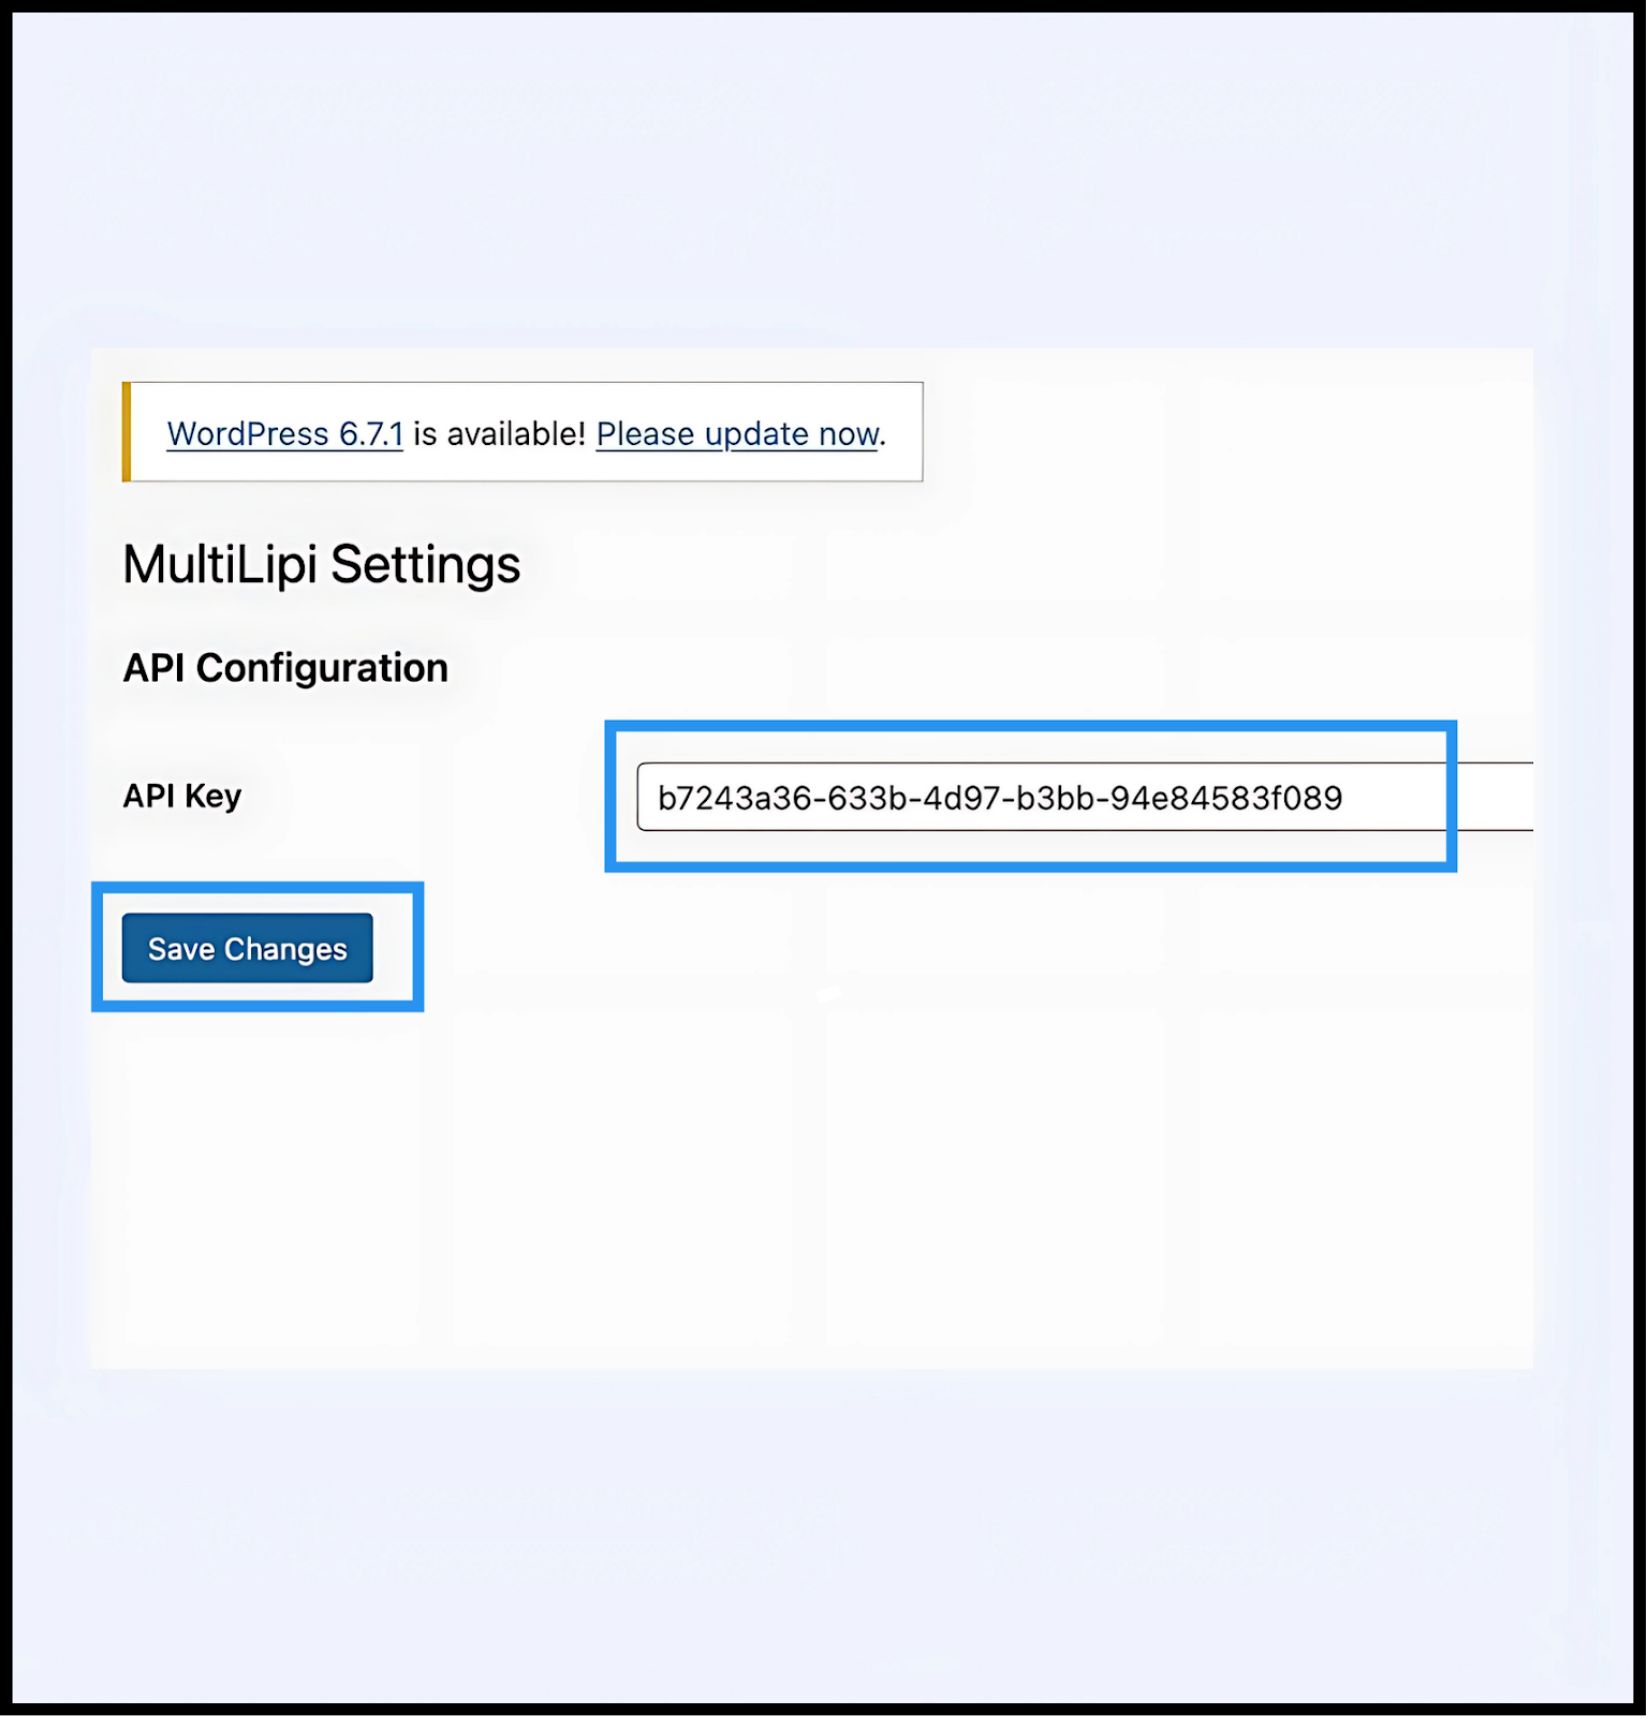
- 4
コミット: クリック 変更を保存.
結果
プラグインはキーを検証し、翻訳エンジンへの安全な接続を確立します。
4. ステップ3:エッジ検証
認証されると、翻訳レイヤーはすぐにアクティブになります。
ニューラル翻訳クラウド
一般公開されているウェブサイトにアクセスしてください。
視覚的な確認
言語スイッチャーは、左下隅(デフォルトの位置)に表示されるはずです。
競合チェック:
言語を切り替えて、コンテンツが即座に翻訳されることを確認してください。
トラブルシューティング プロトコル
- •キャッシュパージ: キャッシュプラグイン(WP Rocket、W3 Total Cache)またはサーバーサイドキャッシュ(Varnish、Nginx)を使用している場合は、スイッチャーを表示するためにインストール後にキャッシュをクリアする必要があります。
- •WordPress 管理ダッシュボード DOM インジェクションとの競合を避けるため、同じページで他の翻訳プラグイン(WPML や Polylang など)がアクティブになっていないことを確認してください。
5. デプロイメント後の管理
プラグインが有効になると、WordPressサイトは当社のインフラストラクチャと同期されます。
用語集とSEO
WordPress内で翻訳を管理する必要はありません。定義するには、MultiLipiダッシュボードにログインしてください 用語集のルールを設定します Hreflangタグ、および管理 翻訳されたURL.
ビジュアルオーバーライド
使用する ビジュアルエディター MultiLipi ダッシュボードで、テキストの拡張(例: ドイツ語やロシア語)によって発生したレイアウトの問題を修正してください。
アップデート
MultiLipiクラウドで行われたすべての翻訳編集は、プラグインを更新したり、キャッシュを再度クリアしたりすることなく、WordPressサイトに即座に反映されます。