翻訳版で異なるフォントを使用する方法
You might want your translated pages to appear more native, not just in language but in look and feel too. One effective way is by assigning fonts that better suit the script of that language — for example, using a Devanagari-supporting font for Hindi or a more stylistic typeface for Arabic.
MultiLipiでは、 カスタムGoogleフォント to each language translation to ensure visual consistency and readability across languages.
なぜ言語ごとに異なるフォントを使用するのですか?
-
スクリプトサポートの改善 : フォント アラビア語なきなざのノート 又は バルー2 ヒンディー語の場合、適切なレンダリングを確認してください。
-
設計の一貫性の向上 : Typography aligned with cultural expectations builds trust.
- SEO + UXの改善 : 適切にレンダリングされたフォントは、翻訳されたバージョンの直帰率を下げます。
Google Fontsからフォントリンクを取得する
Before adding it to MultiLipi, you need a Google Font URL.
1.フォントとスタイルを選択します Googleフォント
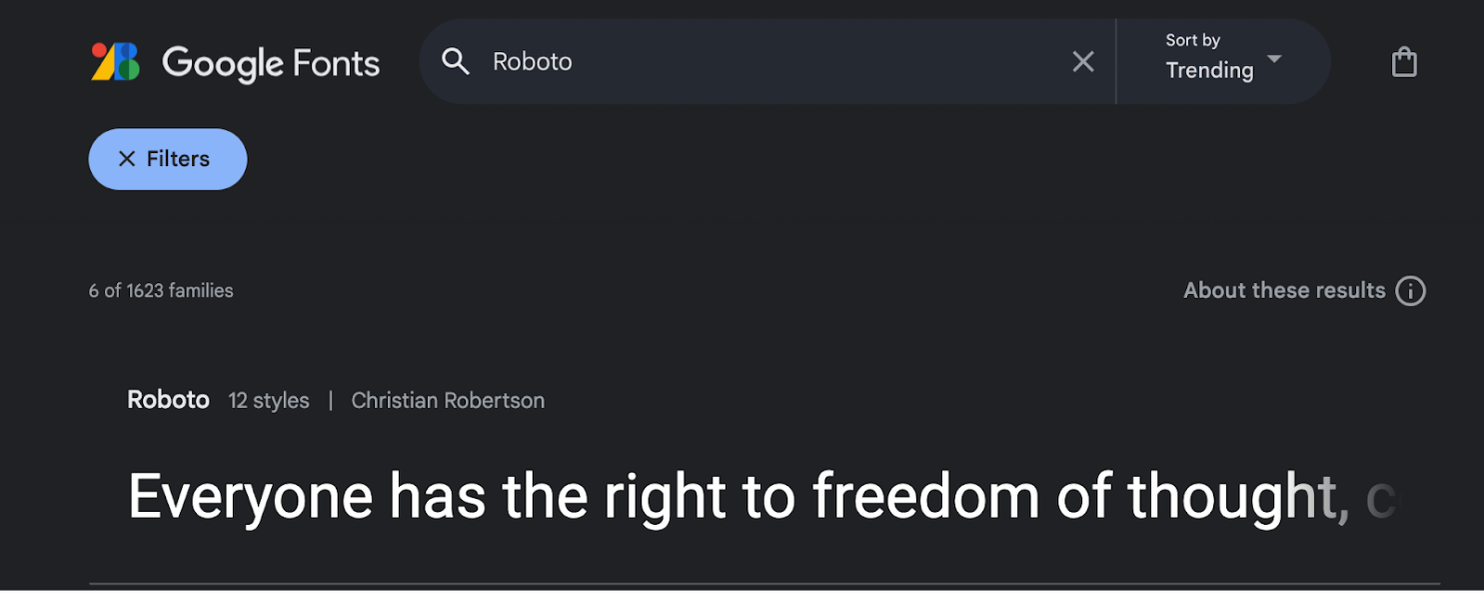
Let's take an example with the "Roboto" font.
Google Fontsにアクセスしたら、検索機能を使用して「Roboto」を検索できます。
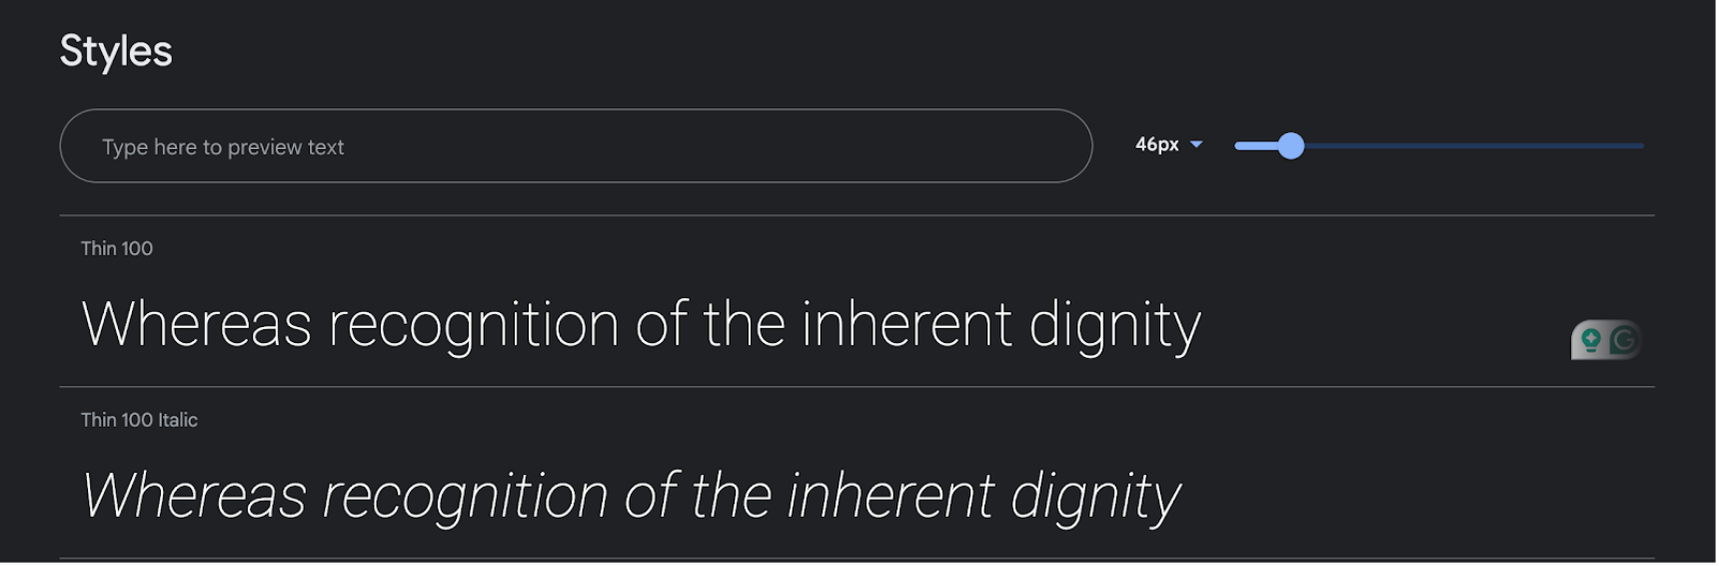
Then, you can select the font you want by clicking on it.
新しいタブでは、選択したフォントに適用されたさまざまなスタイルを確認できます。
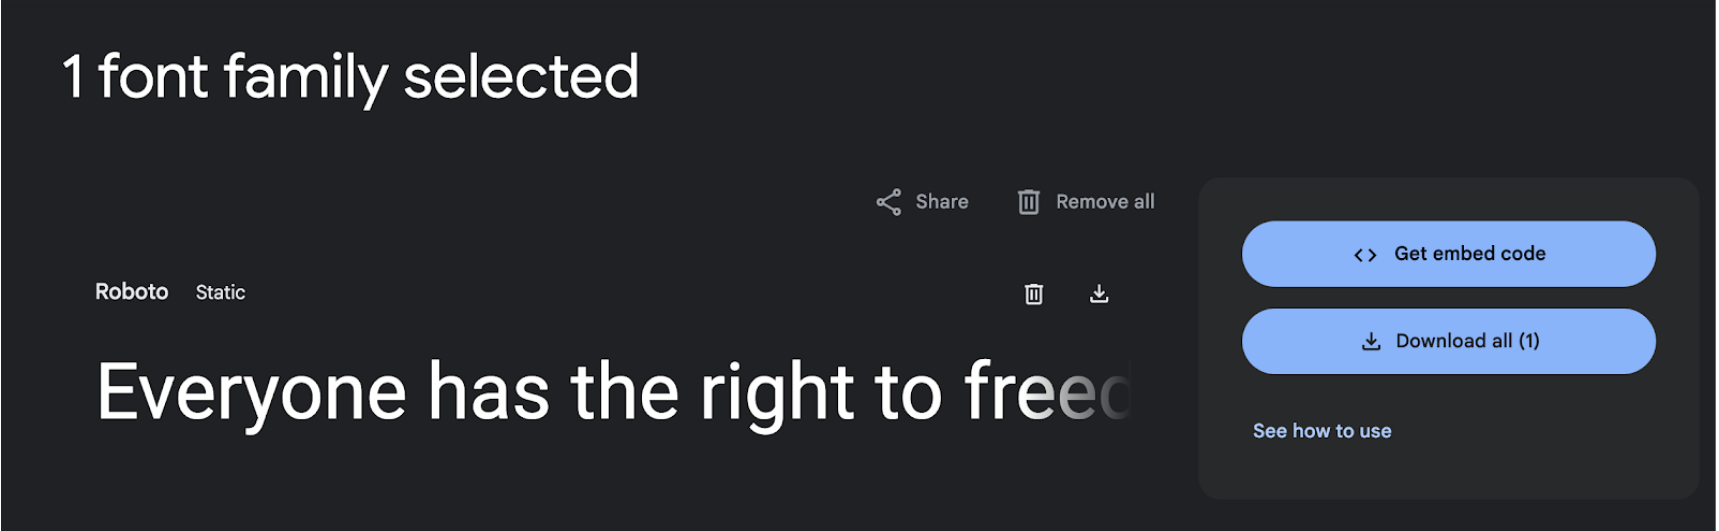
To have this font on your translated website, you first need to click on the "Get font" button in the top-right.
その後、「埋め込みコードを取得」オプションを使用できます。
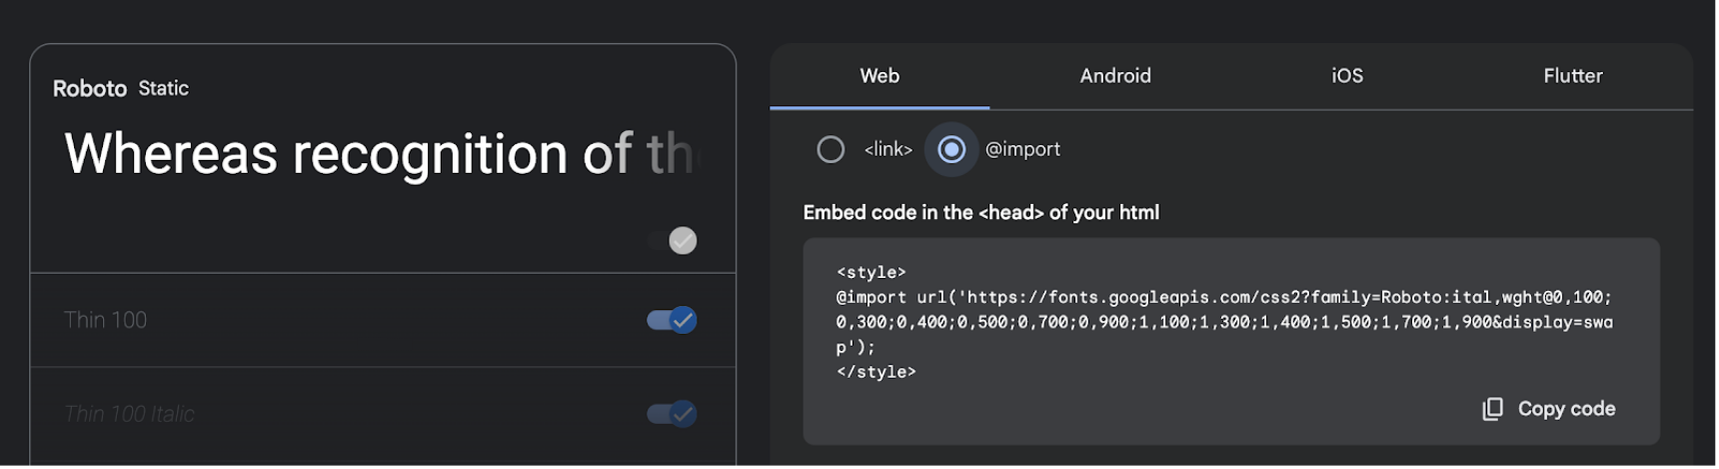
この新しいページでは、左側のパネルからいくつかのスタイルを選択できます。
右側のパネルで、「リンク」の代わりに「Web」と「@import」を選択します。
MultiLipiフォント設定フロー
1. ダッシュボードに移動します
MultiLipi管理パネルから、 言語 セクションの 翻訳 .

2. 言語の横にある「フォントを追加」をクリックします
フォントを適用する言語を見つけて、 フォントを追加 ボタン。
3. GoogleフォントのURLを貼り付けます
Google Fontsからコピーしたリンクをポップアップモーダルに貼り付け、 送信 .

Once submitted, this font will automatically apply to the ヒンディー語 version of your translated website — no code changes needed.
手記
- 有効なGoogle Fontsのみ href リンクは受け付けています。
- フォントが追加されていない場合は、デフォルトのシステムフォントが使用されます。
コメント