How to Set Up DNS for Website Translation on MultiLipi
Setting up DNS is a critical part of enabling your translated subdomains through MultiLipi. This process ensures your translated content is correctly routed and indexed by search engines. Follow this step-by-step guide to configure your DNS seamlessly.
MultiLipiでDNSを設定するためのステップバイステップの説明
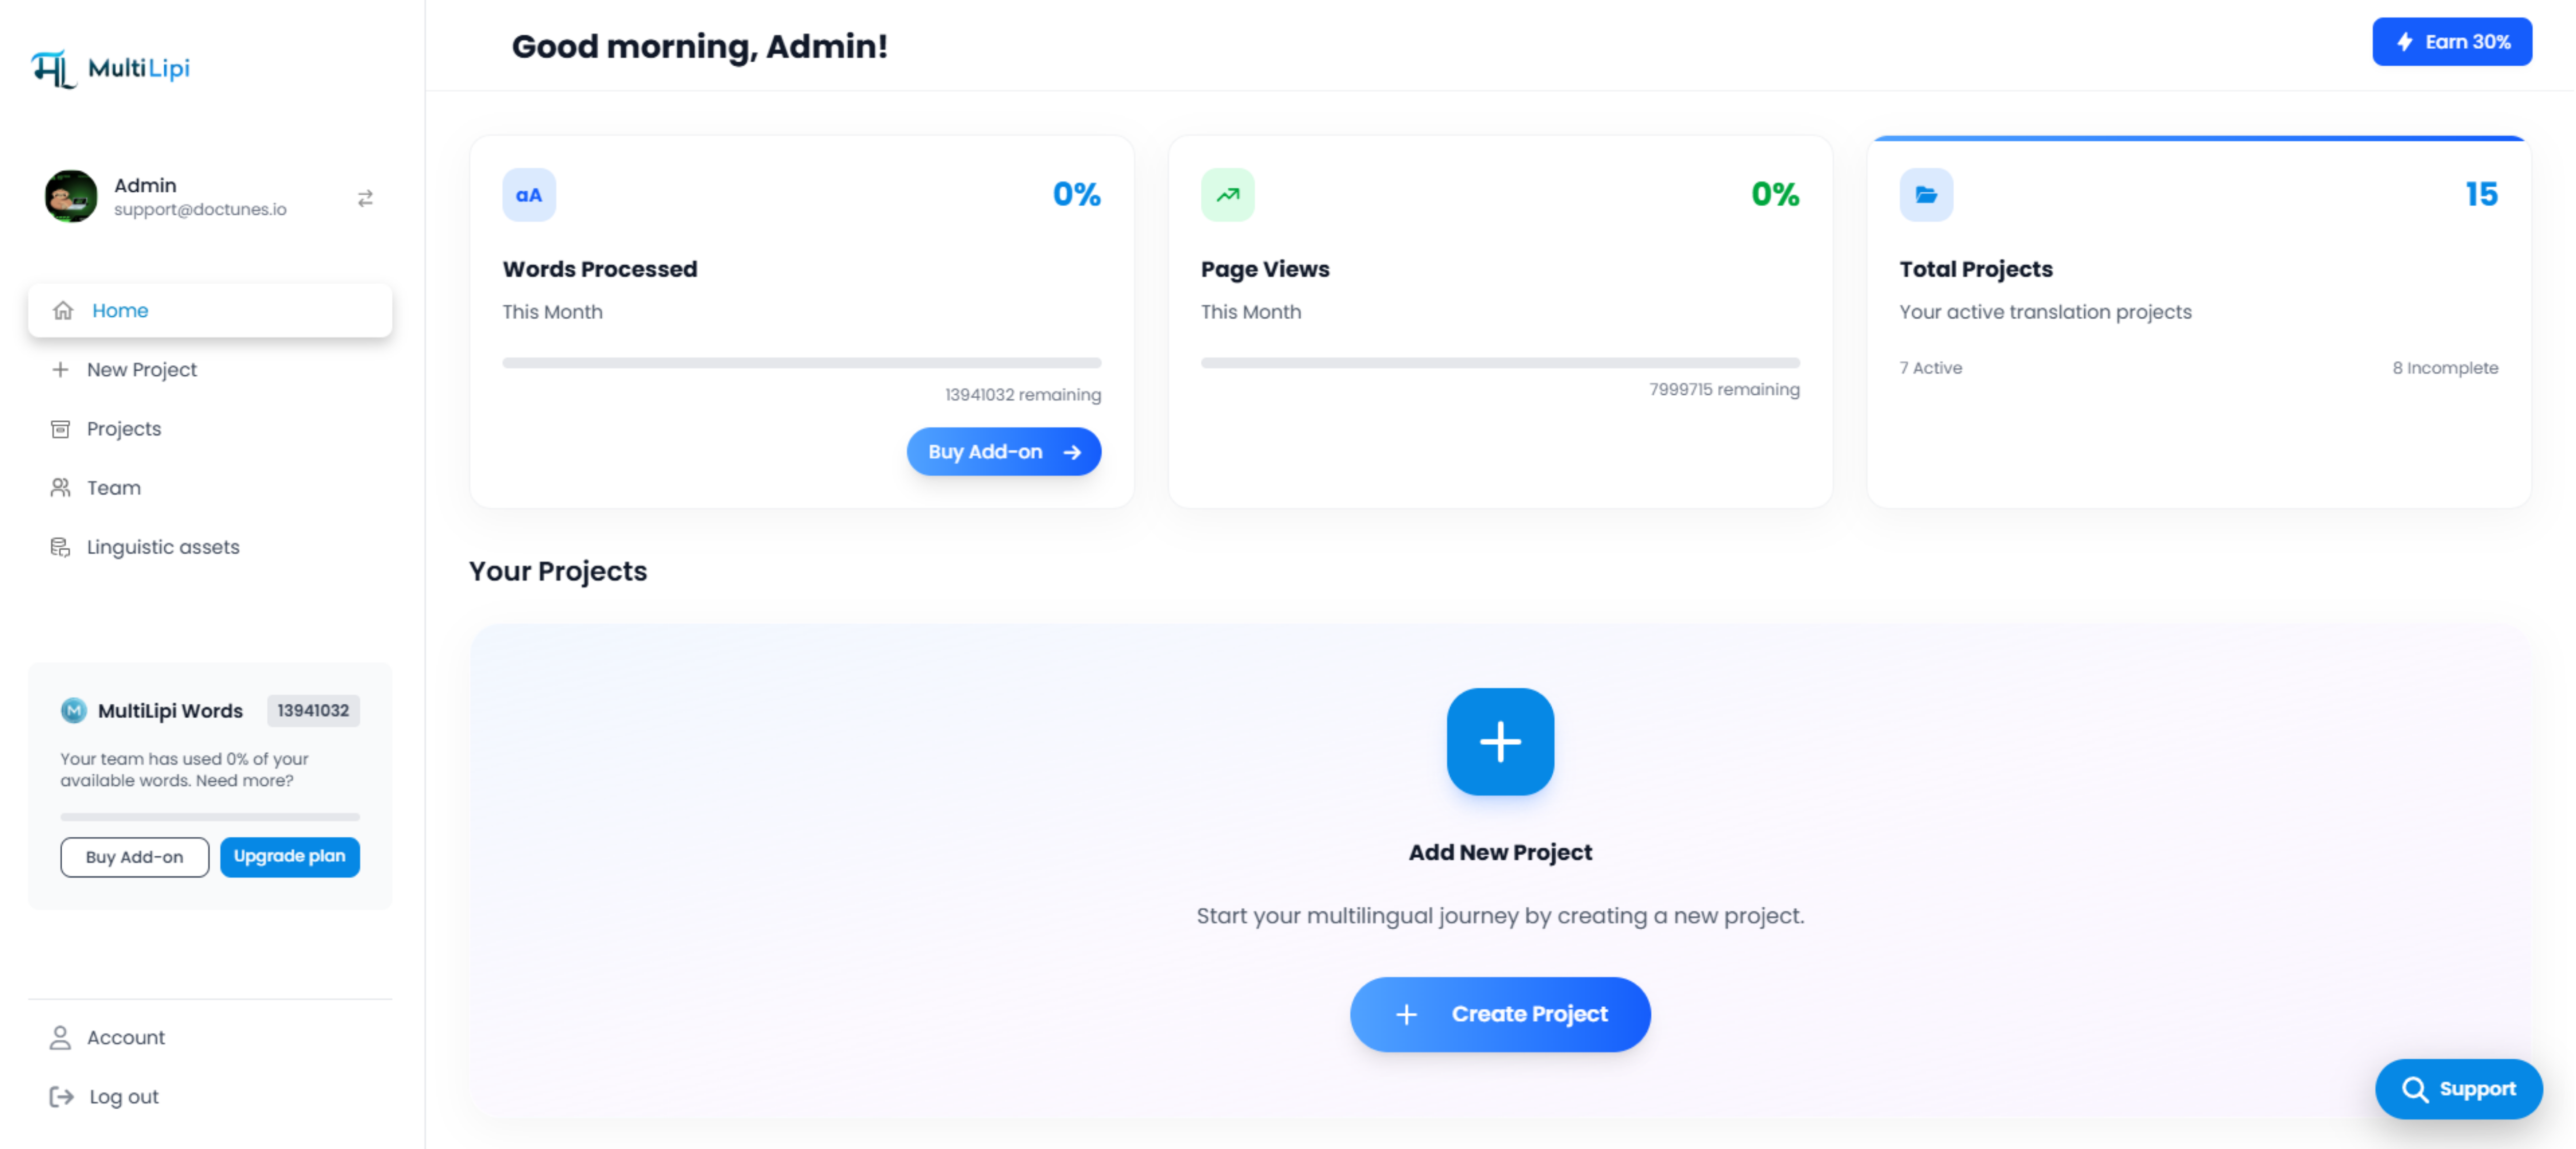
1. MultiLipiダッシュボードを開きます
dashboard.multilipi.com でMultiLipiアカウントにログインします。左側のメニューから、をクリックします 「新規プロジェクト」 下 多言語SEO .
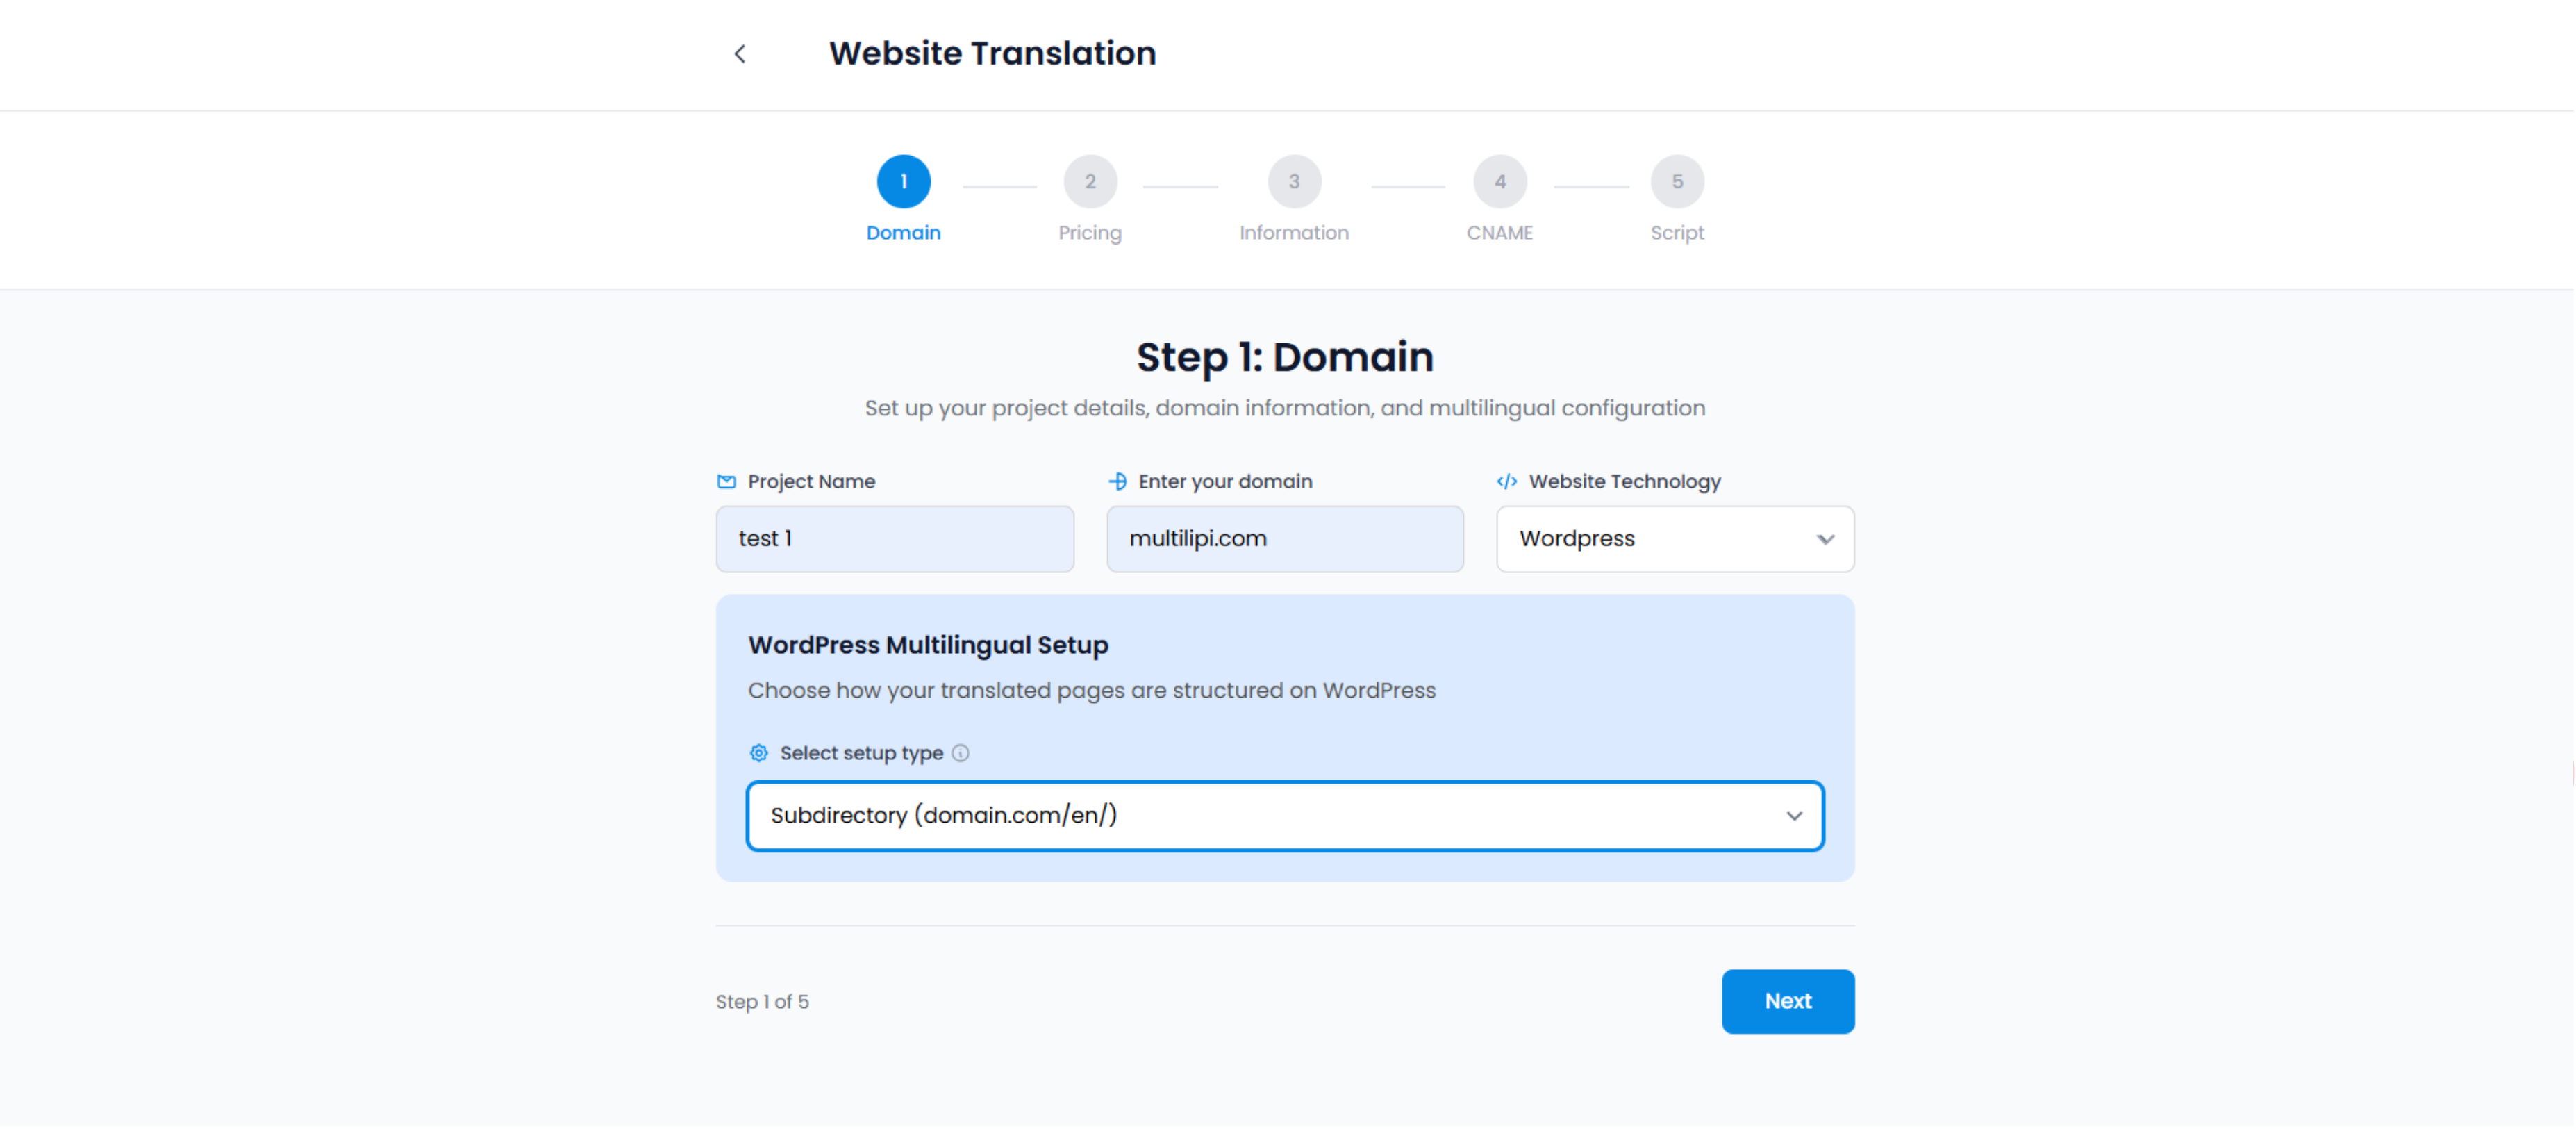
2. Enter Your Website Details
- プロジェクト名 : プロジェクトにわかりやすい名前を付けます (例: 「My Ecom Store」)。
- ドメイン : Input your website domain (e.g., example.com ).
- Website Technology:プラットフォーム(Webflow、WordPressなど)を選択します。
3. プランを選択する
Choose your preferred translation plan based on your monthly page views and feature needs. Free trial or premium – select what suits your project best.
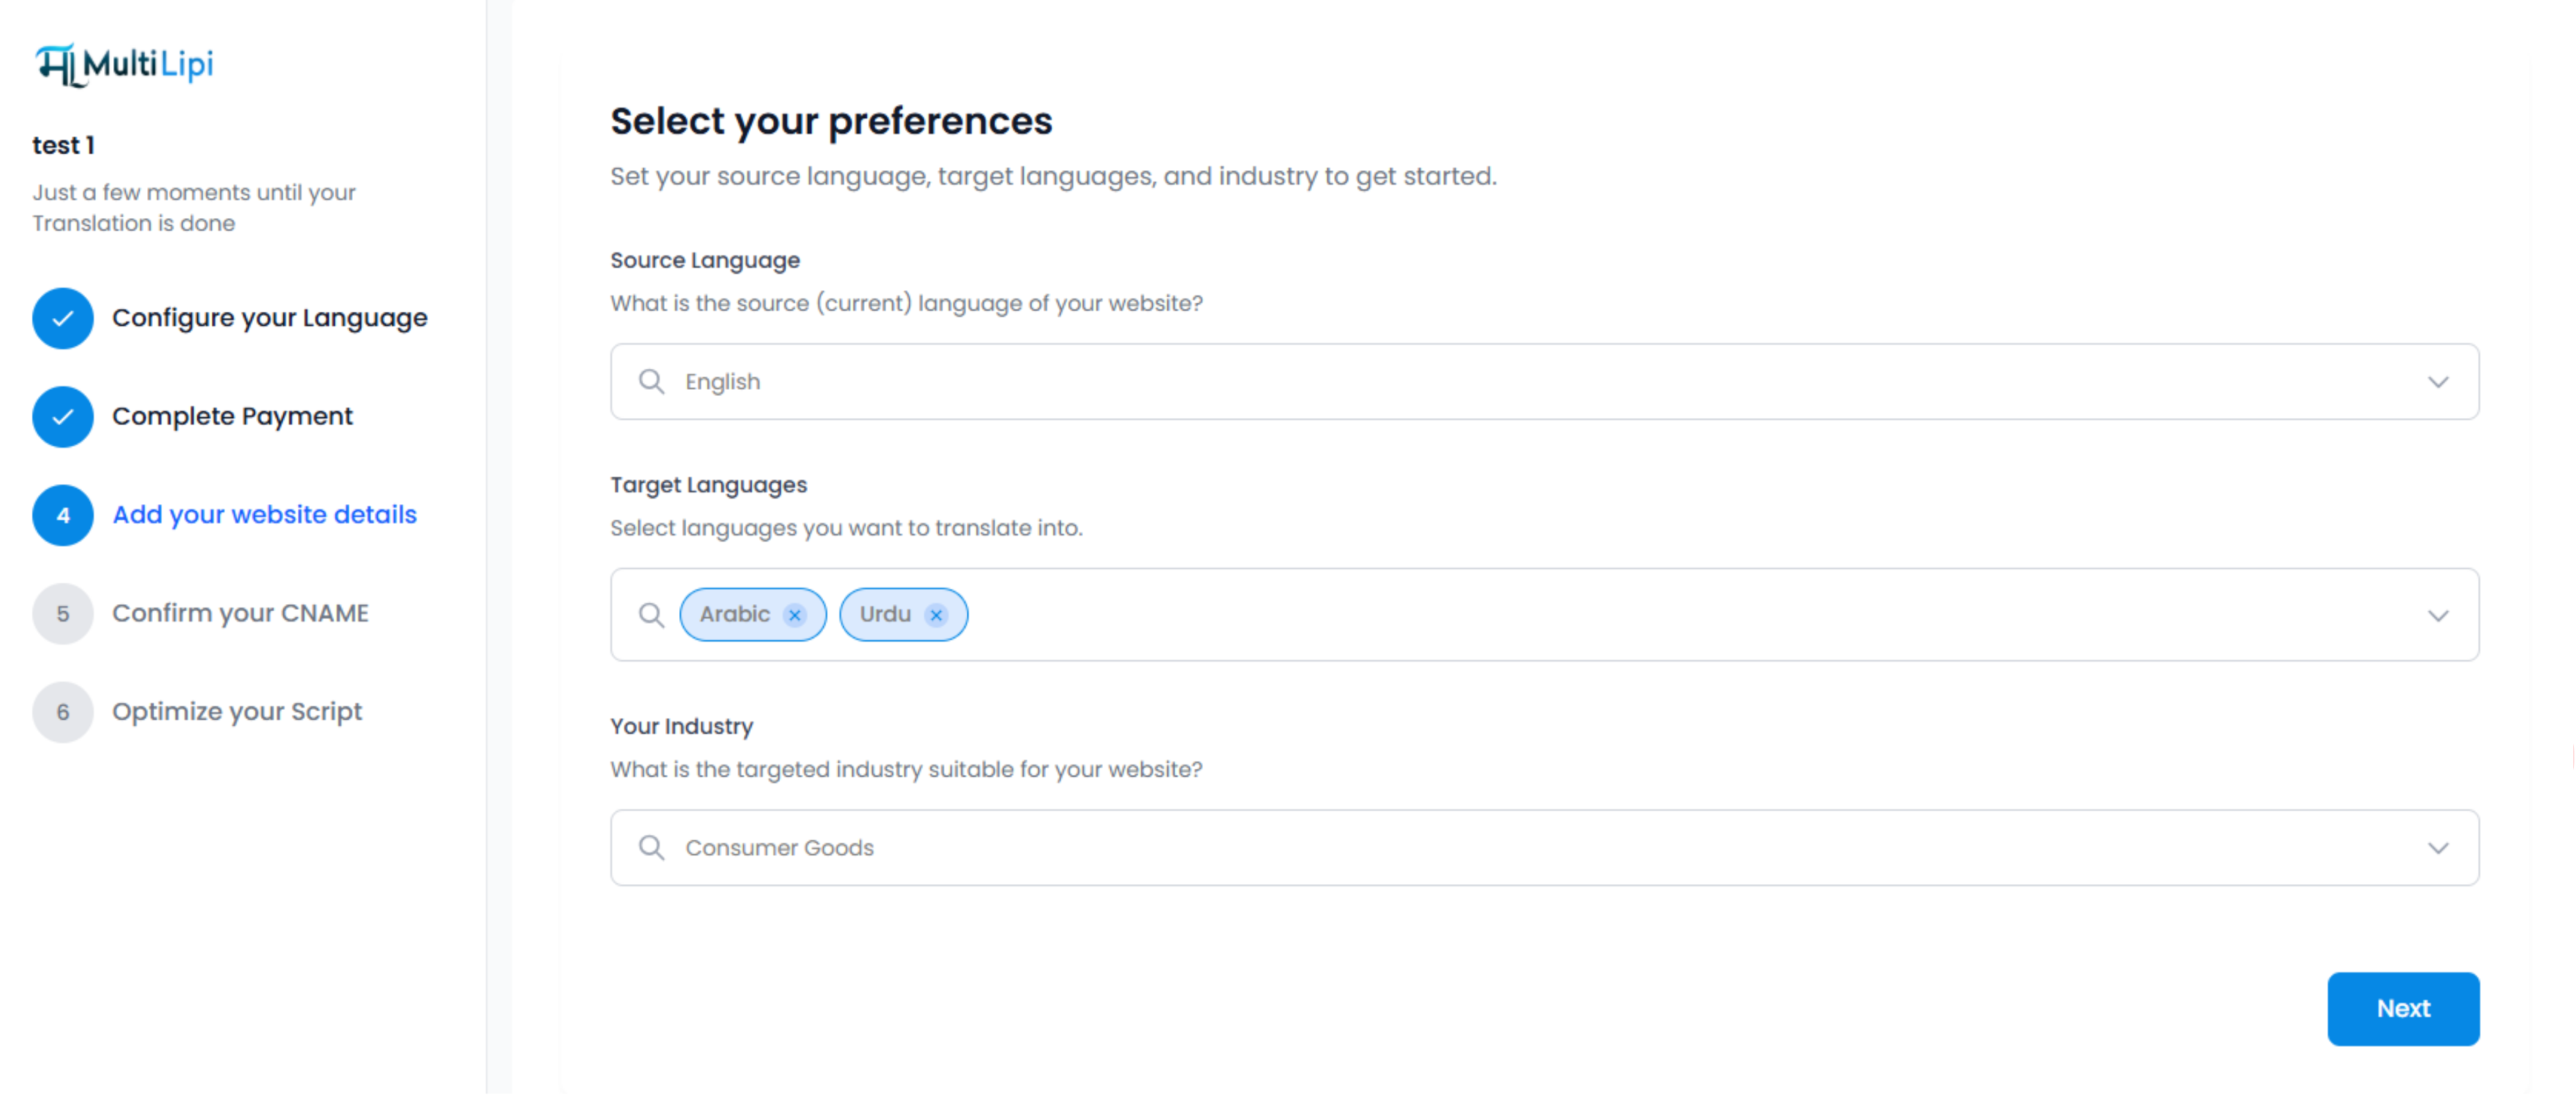
4. ソース言語とターゲット言語を選択する
以下を定義します。
- ソース言語 (例:英語)
- 対象言語 (例:フランス語、スペイン語)
- 業種 (例:eコマース、SaaS)
これにより、言語固有のSEOを自動的に最適化することができます。
5. DNSのセットアップ手順を見る
基本を設定すると、MultiLipiは次の方法を説明する短いDNSセットアップビデオを表示します。
https://www.youtube.com/watch?v=wUDjVts928Y
- DNSプロバイダー(GoDaddy、Cloudflareなど)にCNAMEレコードを追加する
ポイント言語のサブドメイン (例: fr.example.com , de.example.com )からMultiLipiへ
💡 正確な CNAME 値とエンドポイントが表示され、コピーして DNS ダッシュボードに貼り付けることができます。
6. セットアップの完了 🎉
上記の手順を完了した後:
- 翻訳されたサブドメインが公開されます。
- MultiLipiは、hreflangと多言語SEOのベストプラクティスを使用して、ルーティングとインデックス作成を自動的に処理します。
ローカライズされた
コメント